

Before we can review a filling machine for you, we need to know exactly what your pouch is. Size, film, opening, closure and fill target decide which grippers, seal bars and caps a configuration needs. This is a checklist of what to confirm and what to send. The more you fill in, the more specific our review can be.
Dimensions and Shape
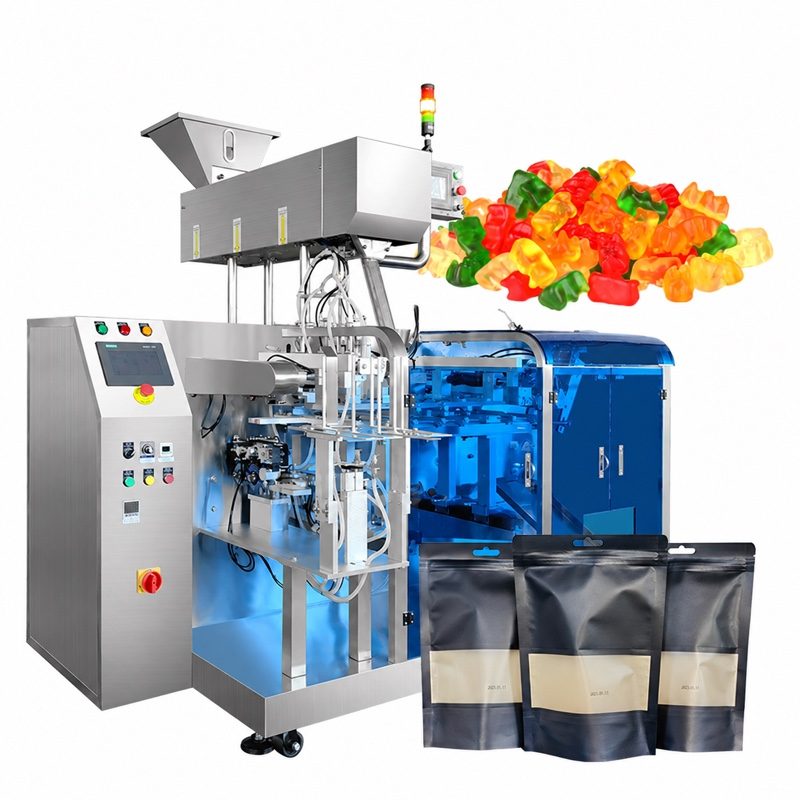
Start with the outside size and say how you measured it. Width and length are the basics. For stand-up pouches, add the bottom gusset depth.
| Field | What to record |
|---|---|
| Pouch type | Flat, stand-up, gusseted, shaped |
| Width | Edge to edge, mm, tolerance if known |
| Length | Top to bottom, mm |
| Bottom gusset | Depth when open |
| Side gusset | Depth, if any |
| Corner shape | Square or rounded |
| Thickness | Empty and filled |
Shape matters as much as size. A pouch that bulges when filled stands differently from a flat one. Our stand-up pouch page explains how size changes affect grippers and settings. The LV-210 entry lists pouch width from 90 to 210 mm and length from 110 to 330 mm. Check your pouch against that range on the LV-210 model page.
Material and Seal Area
The film decides how the pouch opens, seals and holds product. Record the layers and total thickness, plus the supplier's name for the film. Two films that look alike can need different seal settings.
| Field | What to record |
|---|---|
| Film structure | Layers, total thickness |
| Seal layer | Material on the inside |
| Top seal area | Sealable width, mm |
| Seal to fill line | Free space above the product |
| Printed area near the seal | |
| Surface | Matte, glossy, textured |
Keep clear space between the product and the seal. Product in the seal area is a common cause of weak seals, so set fill height and seal area together.
Opening and Zipper
The machine has to open the pouch before it fills. Tell us how pouches are supplied, how the mouth opens and whether there's a zipper.
| Field | What to record |
|---|---|
| Opening style | Open top, tear notch, easy-open |
| Zipper | Present or not; type; distance from top |
| Zipper height | mm, closed and open |
| Seal relative to zipper | Above, below, both |
| Pouch supply | Stacked, magazine, loose |
Catalog listings often mark zipper handling for review. That's why we ask for a sample. Zipper stiffness, profile and position change how the pouch opens on the machine. Whether the zipper is re-closed or only sealed above also depends on the configuration.
Spout and Cap
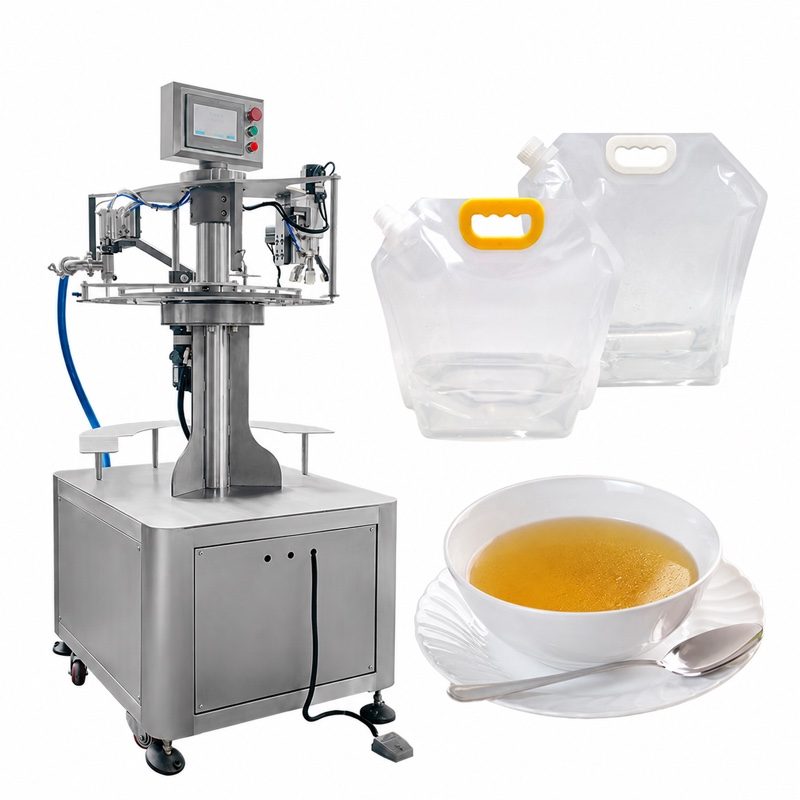
With a spout, the cap, the spout and their tolerances become part of the review.
| Field | What to record |
|---|---|
| Spout | Inner and outer diameter, height, position |
| Cap | Type, thread or snap, diameter, height |
| Cap feed | How caps are supplied |
| Closure | Torque or fit after tightening |
| Tamper feature | Present or not |
A new spout or cap can need different feeding and tightening parts, so list every variant you plan to run. See what affects price for how closure options show up in a quote.
Product and Fill Target
The pouch is only half of the spec. Also record:
- product name, form and, if known, density or viscosity;
- target net weight or volume per pouch;
- the pouch size that target is meant for;
- how you'll check it, and the acceptable range;
- special conditions such as hot fill, foaming or dust.
Target and pouch size must agree. A pouch that's nearly full at target leaves no room for the seal or for settling. If accuracy matters, read how to evaluate filling accuracy and write the target in the unit you'll measure. Our liquid and powder pages show how the product changes dosing.
Drawing and Sample Submission
Send a drawing if you have one, with dimensions and the seal and zipper positions marked. A photo with a ruler beside the pouch also works. Add a note naming the pouch supplier and the film structure.
Please don't ship samples until we've confirmed the quantity and where to send them. We usually ask for pouches that represent production material, plus product samples where a test makes sense. Dangerous goods need a safety data sheet. A test result applies only to the product and pouch tested. The sample testing page covers the process, and how to choose a configuration shows how this fits the larger brief.
Send your completed checklist to us on WhatsApp.
Quick Reference Checklist
Run through this before you submit.
| Group | Confirm |
|---|---|
| Size | Width, length, gusset, thickness, tolerance |
| Film | Structure, seal layer, print near seal |
| Seal | Seal area width, fill line to seal |
| Opening | Style, supply method, easy-open |
| Zipper | Type, height, position, seal relative to zipper |
| Spout and cap | Diameters, cap type, feeding, fit |
| Product | Name, form, density or viscosity |
| Fill target | Net weight or volume, check method, range |
| Attachments | Drawing, photos with scale, sample quantity |
Common Problems with Specifications
The same issues keep coming up. A drawing shows nominal size while real pouches vary, so send real samples too. A film supplier changes a structure and keeps the name, so confirm the current one. A pouch fits the target on paper but has too little headspace once the product settles. A spout is listed by name with no diameters.
Pouches that look alike may not run alike. If you buy from more than one source, send samples from each. The service and support page explains how change parts and spares are handled when you add pouch sizes.
Related pages
Submit My Pouch Specification
Send your product, pouch photo and fill target on WhatsApp. We reply with a configuration to review before you decide.